


6 Minutes
Pros & Cons of Same-Day Rubbish Removal, Sydney
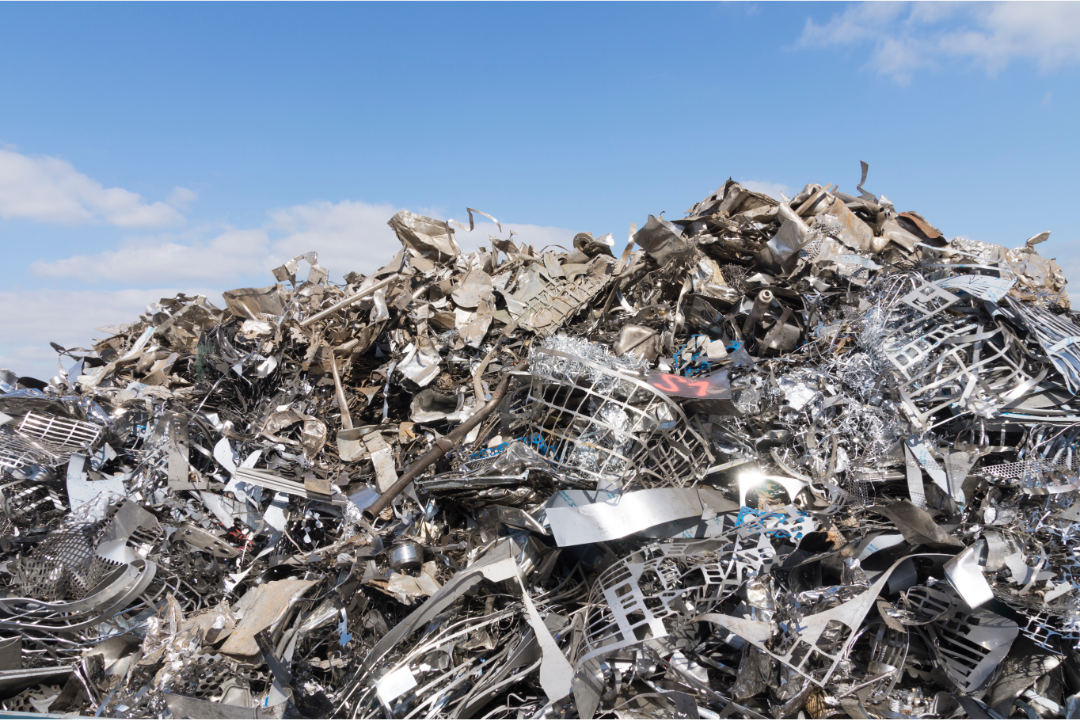
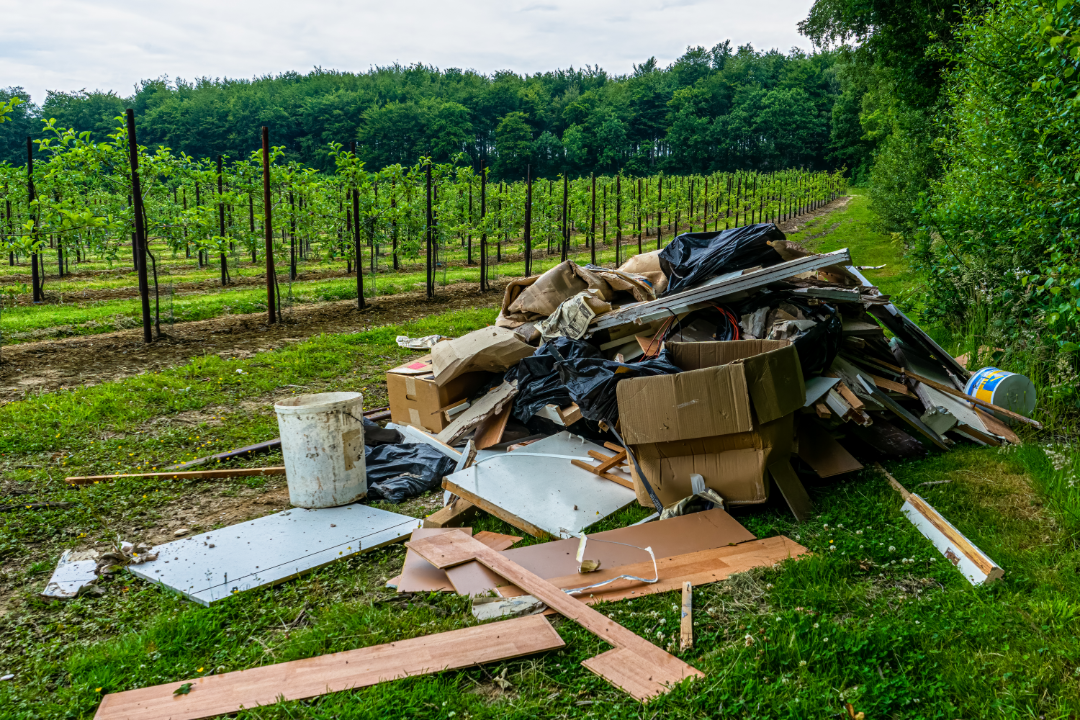
If the time for spring cleaning has finally come around, you may be anxious and nervous about the job. After all, everything from emptying your skip bin and getting rid of odorous waste all...
Read More